This is a continuity from my previous post on sharing my experience in dealing with Web Proxy and Office 365. You may browse through or select the following topics:
- Office 365 & Web Proxy Part 1 – Conceptual Design & Preparation
- Office 365 & Web Proxy Part 2 – Prepare Symantec .Cloud Web Gateway for Office 365
- Office 365 & Web Proxy Part 3 – Setting up the Symantec Client Side Proxy & Cloud Web Gateway
- Office 365 & Web Proxy Part 4 – Setting up Firewall for Office 365
- Office 365 & Web Proxy Part 5 – Troubleshoot Skype for Business Online with Cloud Web Proxy
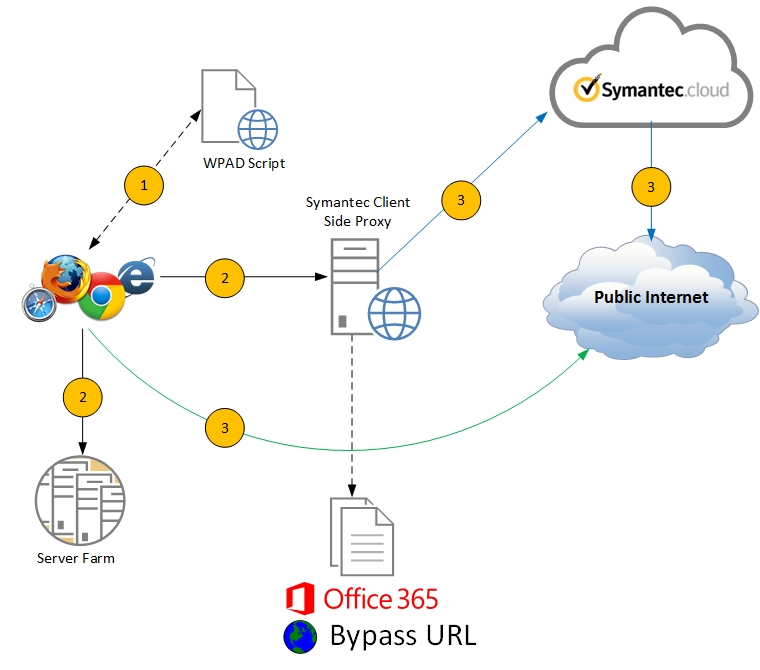
In this chapter, these are the components that are made up to make the solution work:
- Active Directory Users & Security Groups
- Symantec Directory Synchronization Tool (SCHEMUS)
- Active Directory Group Policy Object (GPO)
The key essence in this deployment is identifying the types of URLs or Web Categories that the users would be allow and prohibited to access, so before we begin the building the web policies, it is extremely crucial to identify the groups of users and types of materials (URLs) that they needed to access to ensure both productivity and restrictions are applied according to the corporate policies.
To start off, I’ve created the security groups, using the this format: Web-XYZ, where Web indicates for Web Proxy while XYZ stands for the type of access. For example: Web-YouTube, where users in this group are allowed to access to YouTube. Placed all of these groups into a dedicate OU which we’ll be using Symantec Synchronization Tool (SCHEMUS) to synchronous to the Symantec .Cloud. For general guideline, you may structure / plan the Security Groups in this manner:
- Web-YouTube
- Web-SocialMedia
- Web-PublicWebMail
- Web-BasicWeb
Once the security groups has been created, install SCHEMUS onto a designated system, SCHEMUS doesn’t required much resources so you may collocate with the Azure AD Connect which performs the same synchronization activity the cloud.
Configuring SCHEMUS very much similar to Azure AD Connect – select the OU Container (best practices) which holds all of your users and security groups:
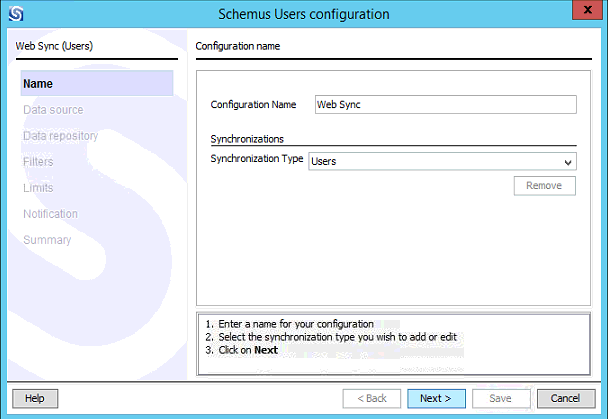
1. Give a Name to the Synchronization (e.g. Sync Web) and select Users at the synchronization type column
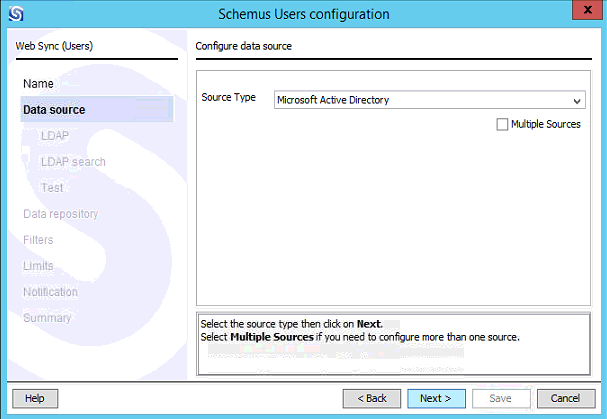
2. Select Microsoft Active Directory as the Source Type
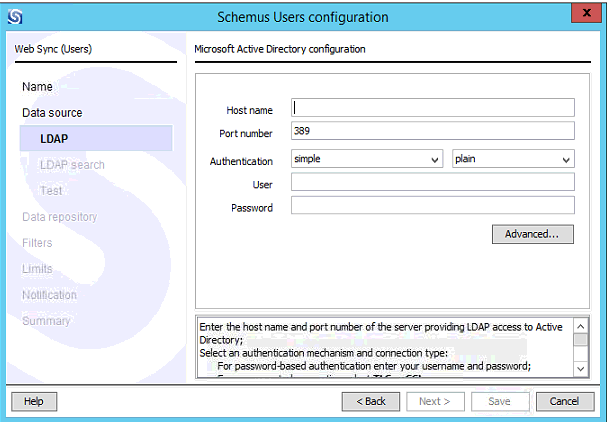
3. Fill-up the hostname of your Domain Controller along with your Domain Admin’s Username & Password
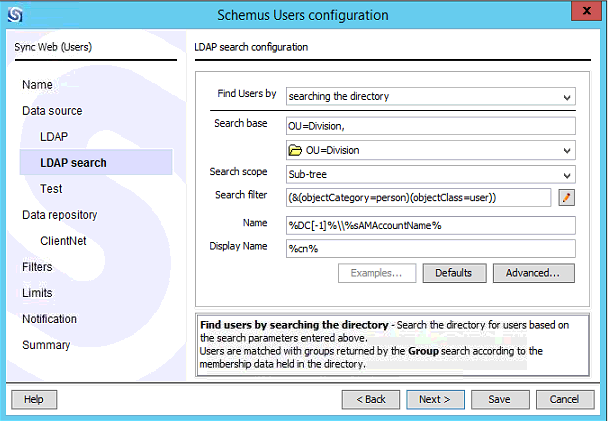
4. Select the OU that you’ve store all of your corporate Users
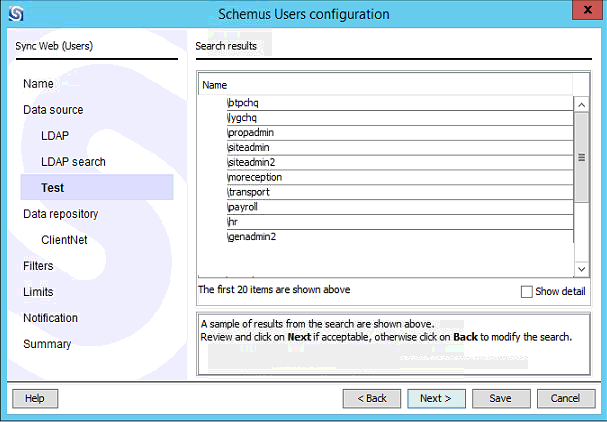
5. At the next screen, SCHEMUS will attempt to query a list of sample users from the last selection that you’ve made. If you’ve confirm that the queried objects are correct, move on to the next screen
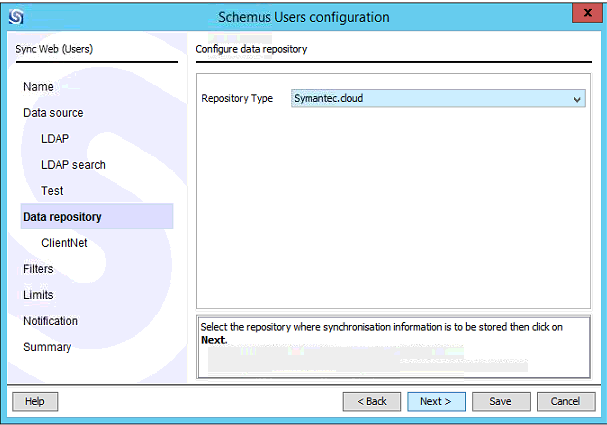
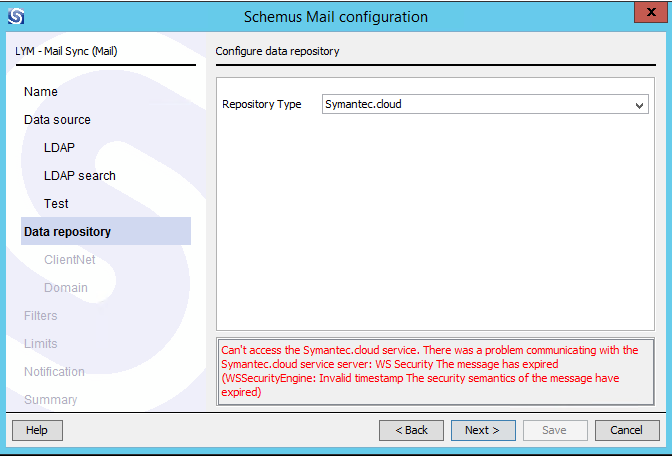
6. Select Symantec .Cloud at the Repository Type
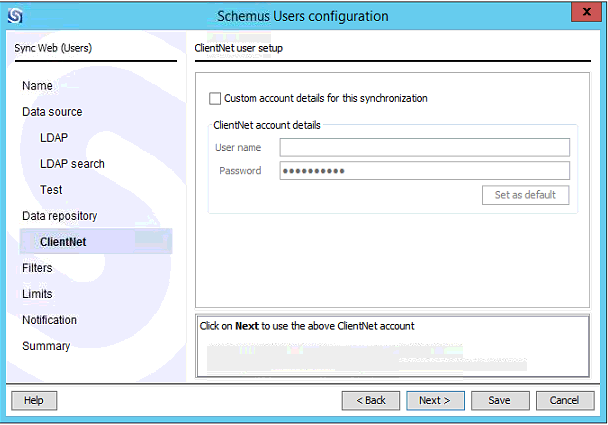
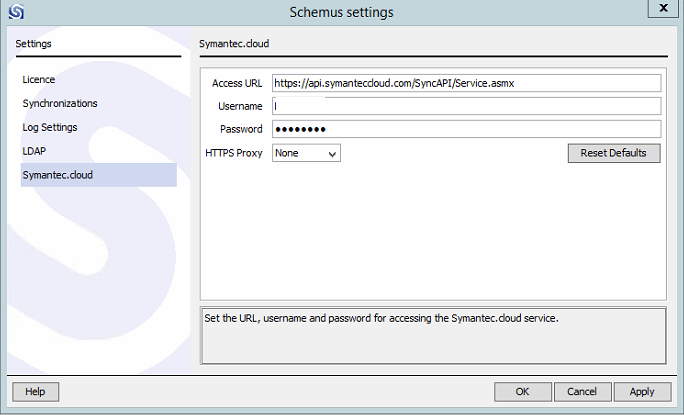
7. During the initial launch after installing SCHEMUS, you’ll be prompt for Symantec .Cloud user credentials to activate the application. So can continue with the wizard by leaving this option on its default configuration.
8. If you need to omit any objects in this synchronization, key in the filters or leave the values blank (default)

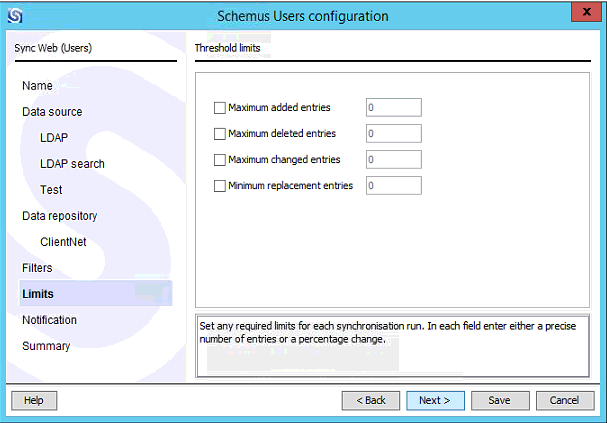
9. Leave the limits to its default unless you’ve a good reason to limit the number of users that needs to be synchronized
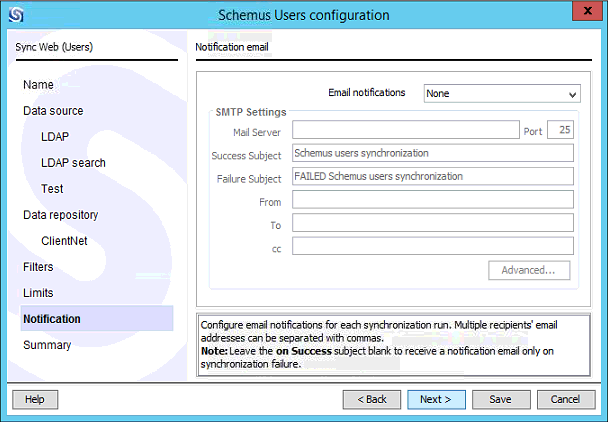
10. I would highly recommend that you configure the notifications for any synchronization failures as the synchronization tasks will be perform based on scheduled – which is similar to Azure AD Connect. Key in your SMTP relay server (I’m assuming that no active mail server are still available as we’re moving to Office 365 – duh!)
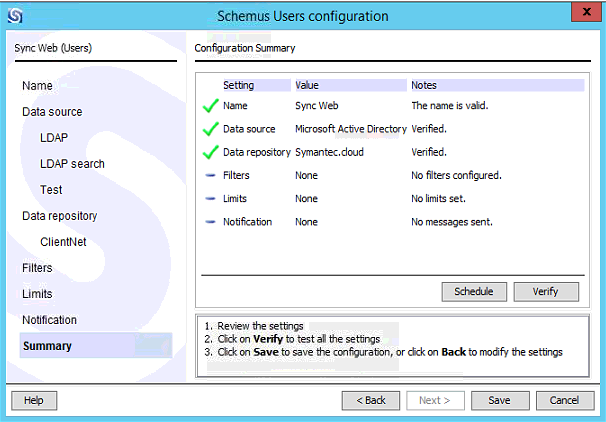
11. On the final configuration screen of SCHEMUS, click on Verify to make sure all of the configuration are working as expected
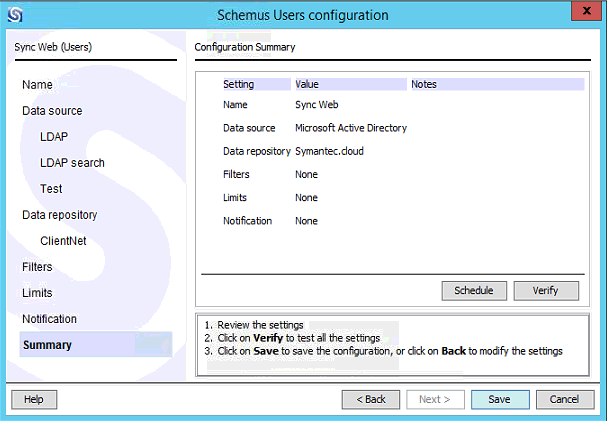
If everything is successful, you should get the (similar) screen as mine
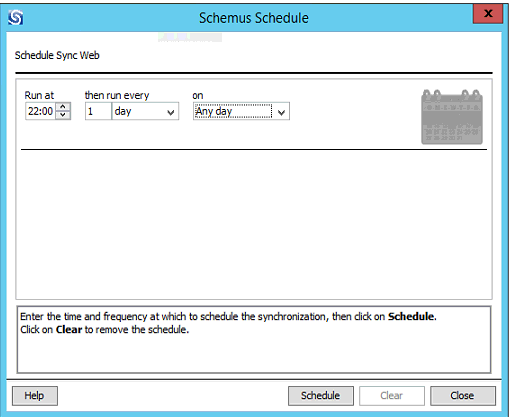
12. Schedule the synchronization tasks based on your desired time
13. Click on Save to complete the synchronization for Users. Repeat Step 1 – 13 for Groups and Mail (if any)
14. Click on Update at the left of the SCHEMUS window screen and you should be able to see the list of users and groups being synchronized to the Symantec .Cloud
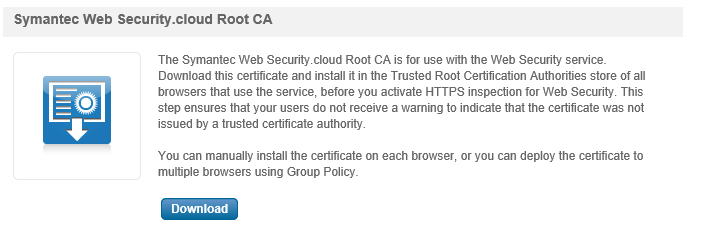
Next, we move on to configuring the Symantec .Cloud CA Root certificate, this is to allow HTTPS inspection when users attempting to browse to any HTTP Secure Sites. Grab the file from your ClientNet portal > Tools > Downloads
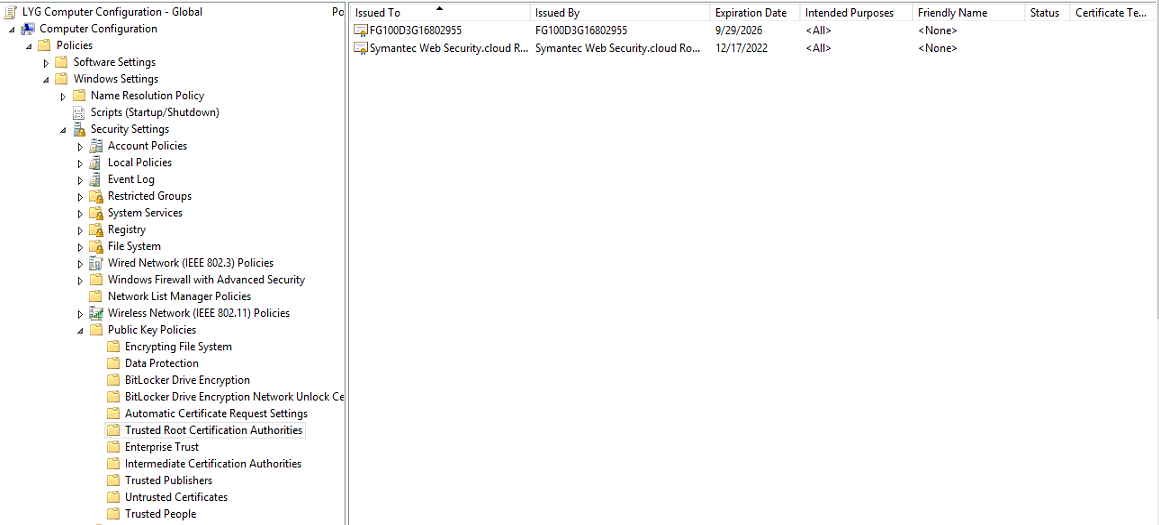
After downloading it, publish it to all domain member workstations, desktops and / or laptops via the Active Directory GPO:
Computer Configuration > Windows Settings > Security Settings > Public Key Policies > Trusted Root Certification Authorities
Import the downloaded Symantec Web Security .Cloud Root CA and all domain members machines will automatically download it to the local certificate store, this would allow all major browsers – Internet Explorer, Google Chrome & Microsoft Edge (Except FireFox) to automatically recognizes and accepts the certificate when the HTTPS inspection triggers at the Cloud level. I would recommend to link the Policy at the designated OU which you’ve stored all your client machines; if you’d been leaving the machines at the default container – Computers, update the configuration using the Default Domain Policy GPO.
Now that the core elements are in-place, we’ll now proceed to the next topic on configuring the Client Side Proxy (CSP) and setting up rules and policies at Symantec .Cloud Services.


Recent Comments